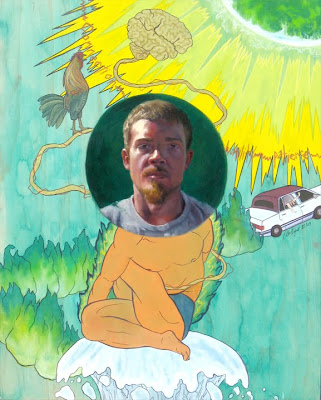
Step 1: Interview process.... everyone gets an interview and a photo taken.
Step 2: Sketches and thumbnails. This is the daydreaming stage. It can be done at work, during yoga, on the train, driving, sleeping. The creative part.
Step 3: All boards get a watercolor layer of color. Very transparent to show off that groovy wood texture.

To get a better sense of that stage....

Step 5: The story! This is the part where I decided to use gouache instead of acrylic. Gulp... But in the end I liked it better. Mistakes are easier to work with and it had a better and faster application. The interview process in action.
 Step 6:
 The varnish. The portrait was oil so I couldn't use the same varnish I used on the gouache. Tape 'em up. Take 'em up on the roof and spray. The sun was on my side that day.

Step 7: Frames frames frames. It takes longer than you think. Especially when you've never frames wood before! Thank goodness to my OSH days when I was obsessed with buying tools. They really came in handy.
Step 8: Hang them and enjoy with new and old friends at Funky Door!


 Step 6: The varnish. The portrait was oil so I couldn't use the same varnish I used on the gouache. Tape 'em up. Take 'em up on the roof and spray. The sun was on my side that day.